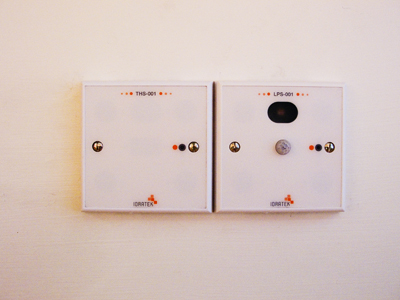
Installing the Idratek system in the kitchen has caused a degree of controversy in the house. Since the kitchen was renovated before I started on the whole HA journey, chasing of walls for additional wiring has been strictly forbidden. This has left me with some dilemmas on how to fit the switch module. Stay tuned for another episode to see how that was solved, but in the meantime, here's the installation of the sensory modules (THS-001 for temperature/humidity and LPS-001 for light-level and PIR presence).
The kitchen door has already got a magnetic switch wired back to the dining room installation.
The modules are to be installed in a twin surface box. This was cut into the ceiling using a padsaw and vacuum cleaner, after checking the under floorboard area from above:
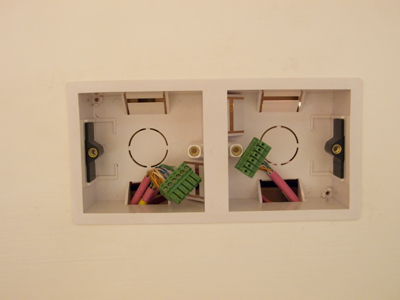
As you can see, the boxes have been pre-wired with pink C-Bus cabling. The Idratek system uses a 6-way modular connector with screw clamps. Although it can be a bit fiddly, it does mean that you can fit more than one set of wires into the plug. This allows a "spider" wiring scheme without excess patchboards. I typically make the home run from the ceiling unit and wire all vertical drops back to the ceiling boxes. Since the Idratek system uses 3 pairs, there is a spare pair in the Cat-5. I usually double up on the power connections (if I can fit all the wires in), especially for the home run back to Node-I.
Here's the LPS-001 module in it's box, this is the older Idratek packaging. The only tool needed to install the module is a screwdriver:
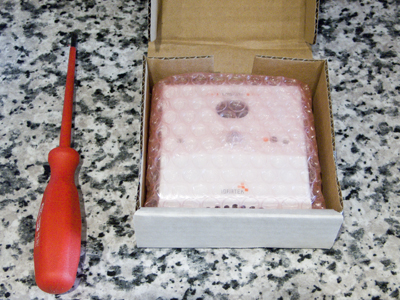
The network is already powered up, so the module "boots" as soon as it is connected. I usually pre-configure the modules on the desk beforehand to save running upstairs:
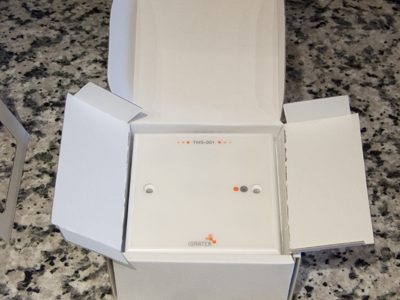
The other module was purchased more recently, so it came in the new packaging, which is rather elegant, I feel (although I don't want to take this box fetish too far, you understand):
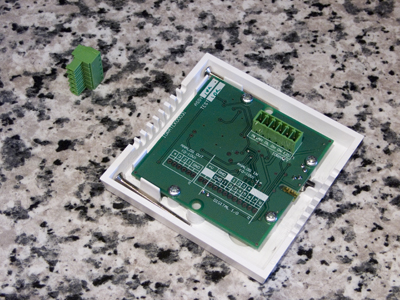
In case you're wondering, the back of the sensory modules is pretty simple. In the case of the THS-001, there is just the modular connector. Each module gets supplied with a connector and the mounting screws. I also purchased a few bags of the connectors to allow pre-wiring. You can also just about see the module reset button, the small black protrusion on the side of the module. This remains accessible when the unit is mounted:
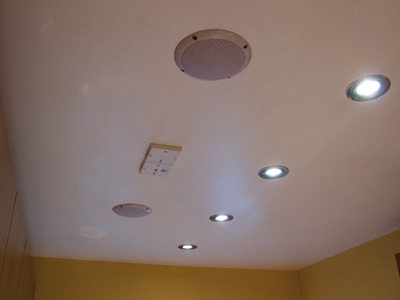
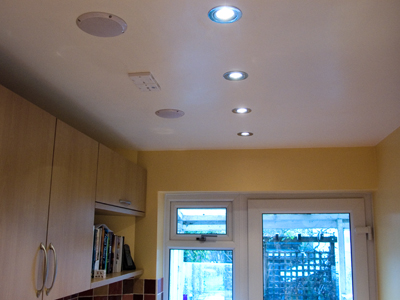
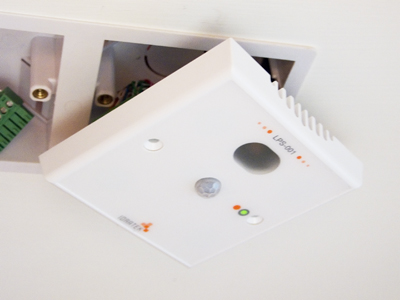
So that's all there is to it. Here's a few closing photos to show the modules in the ceiling, with ceiling speakers (unrelated to Idratek) alongside: