I've mentioned I added radiator valve actuators to improve my heating control, so here's a walkthrough of the steps in Cortex to add them.
My valves are controlled by switching on and off a 24V power supply generated centrally using a QRI-002 DIN rail relay unit. This sits alongside a DIN rail mounted 24V transformer. After adding the QRI module to the network in the usual manner, the first step is to add the individual zone valves to the matching relay channels.
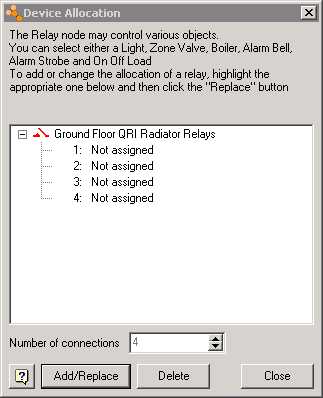
Here you can see the uncommitted relay module, so I select the first relay and use the Add button, selecting a Zone Valve.
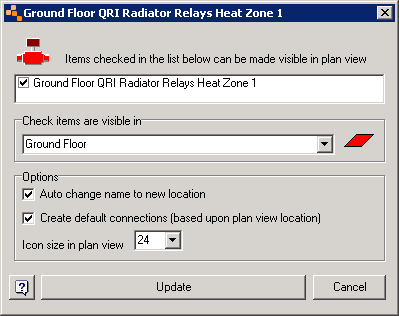
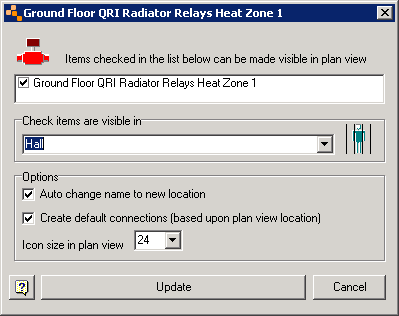
This dialog has seen some improvements relating to setting up where the icon will appear in the plan. Since my QRI-module is associated with the ground floor (since it services the whole floor) the default is that the added object will also be associated with the ground floor. But I actually want this object to show up in the hall:
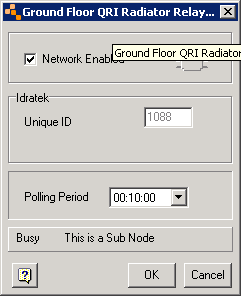
The zone valve needs enabling into the network (this really means bring it under Cortex control rather than the physical Idranet) from the properties menu. This is also a useful way of temporarily disabling objects, perhaps if you need to disconnect some units:
The object is added with an automatically built name, but these can be a bit long, so I highlight it in the structure view and change it:

Just to confuse you, I'm now working with the Dining Room zone valve.
The next step is to associate the zone valve with the room HVAC object. HVAC objects create demand for heating (or cooling) and without zone valves they connect directly to the boiler object. Where zone valves are present they connect instead to the zone valve:
Open the zone valve connections:
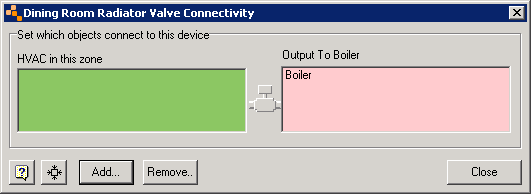
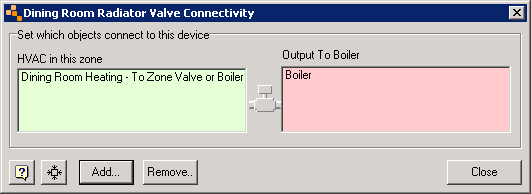
Select the HVAC box and the Add the Dining Room HVAC:

You can see that the zone valve already has an output connection to the boiler object (it's demand relay in physical terms):
So that's all the zone valve connections set up, next I set up it's behaviour:
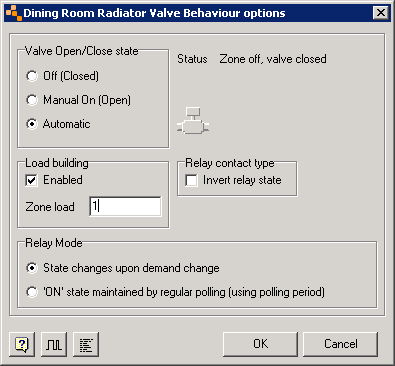
The manual (ON) setting could be useful for radiator balancing, although I have Honeywell valves that allow balancing on the wheelhead valve rather than the lockshield.
Also interesting is the load building setting, which allows the zone to be allocated a number of load units, this then interacts with the boiler object that can be set to only fire if the total demand is above a number of units. The units are arbitrary, but should be consistent across the house. So you might use it to ensure the boiler only fired to heat at least 2 rooms, or you might have some efficiency data that would allow you to set it up in kW or BTUs.
The final stage is to review the HVAC object. First check the connections:
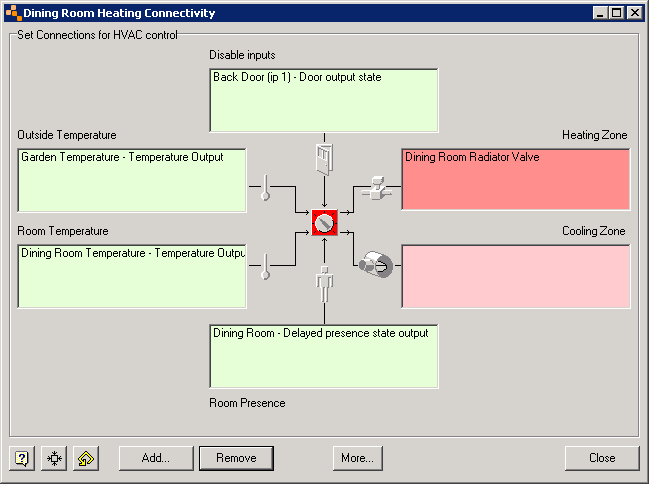
You can see the HVAC creates demand that is output to the zone valve and this will forward it to the boiler. Demand can be modified according to various factors and also inhibited, here it is inhibited if the back door is open, but another typical inhibit would be the windows.
Next lets look at the HVAC behaviour set up:
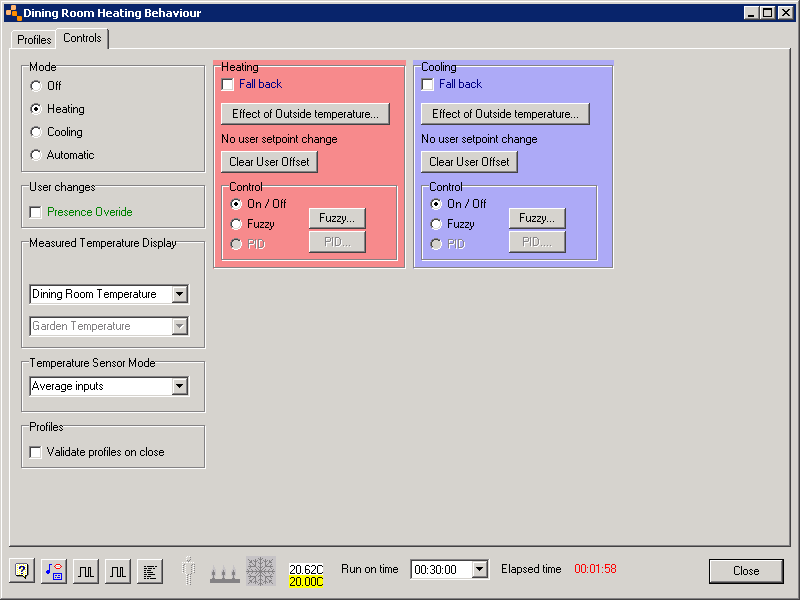
All kinds of complicated stuff here. I only have heating so select the appropriate mode. For the moment I have not configured anything to modify the settings and I am using a simple on/off controller.
The other part of the behaviour is the profile setup, which I showed in another entry.

Leave a comment